Family Weekend Project: Building Concrete Steppingstones
January 4, 2024
As weekend preparations are made, families often look for activities that bring them together. Some options might also add a touch of creativity and functionality to their home. Among the options is one project stands out due to its simplicity and the aesthetic appeal it can bring to any yard: creating concrete steppingstones. This activity offers an opportunity for teamwork and allows each family member to make their unique mark on the family’s outdoor living space.
Getting Started
To begin it’s important to gather all the materials. You’ll need mix, a mixing bucket, water, a shovel or stirring tool and molds for your steppingstones. These molds can be something you purchase for that purpose, or they can be creative items like items around your house, like a cake pan. Adding touches to your steppingstones is part of the fun so consider collecting tiles, pebbles or even glass beads for decoration.
Preparing the Mix
Once you have all your materials ready the next step is preparing the mix. Follow the instructions provided on the concrete mix bag to achieve the consistency. It should be similar to that of brownie batter. To achieve the consistency, adjust the mix by adding more if it’s too runny or a little water if it’s too thick. Remember that a perfect mix will maintain its shape and won’t crumble when placed in the mold.
Filling the Molds
When it comes to filling the molds start by placing them on a surface covered with a plastic sheet or tarp to avoid any mess. Pour the concrete into the molds ensuring they are filled to the top. Lightly tap on the sides of the molds to eliminate any trapped air bubbles as this will help you achieve the desired finish.
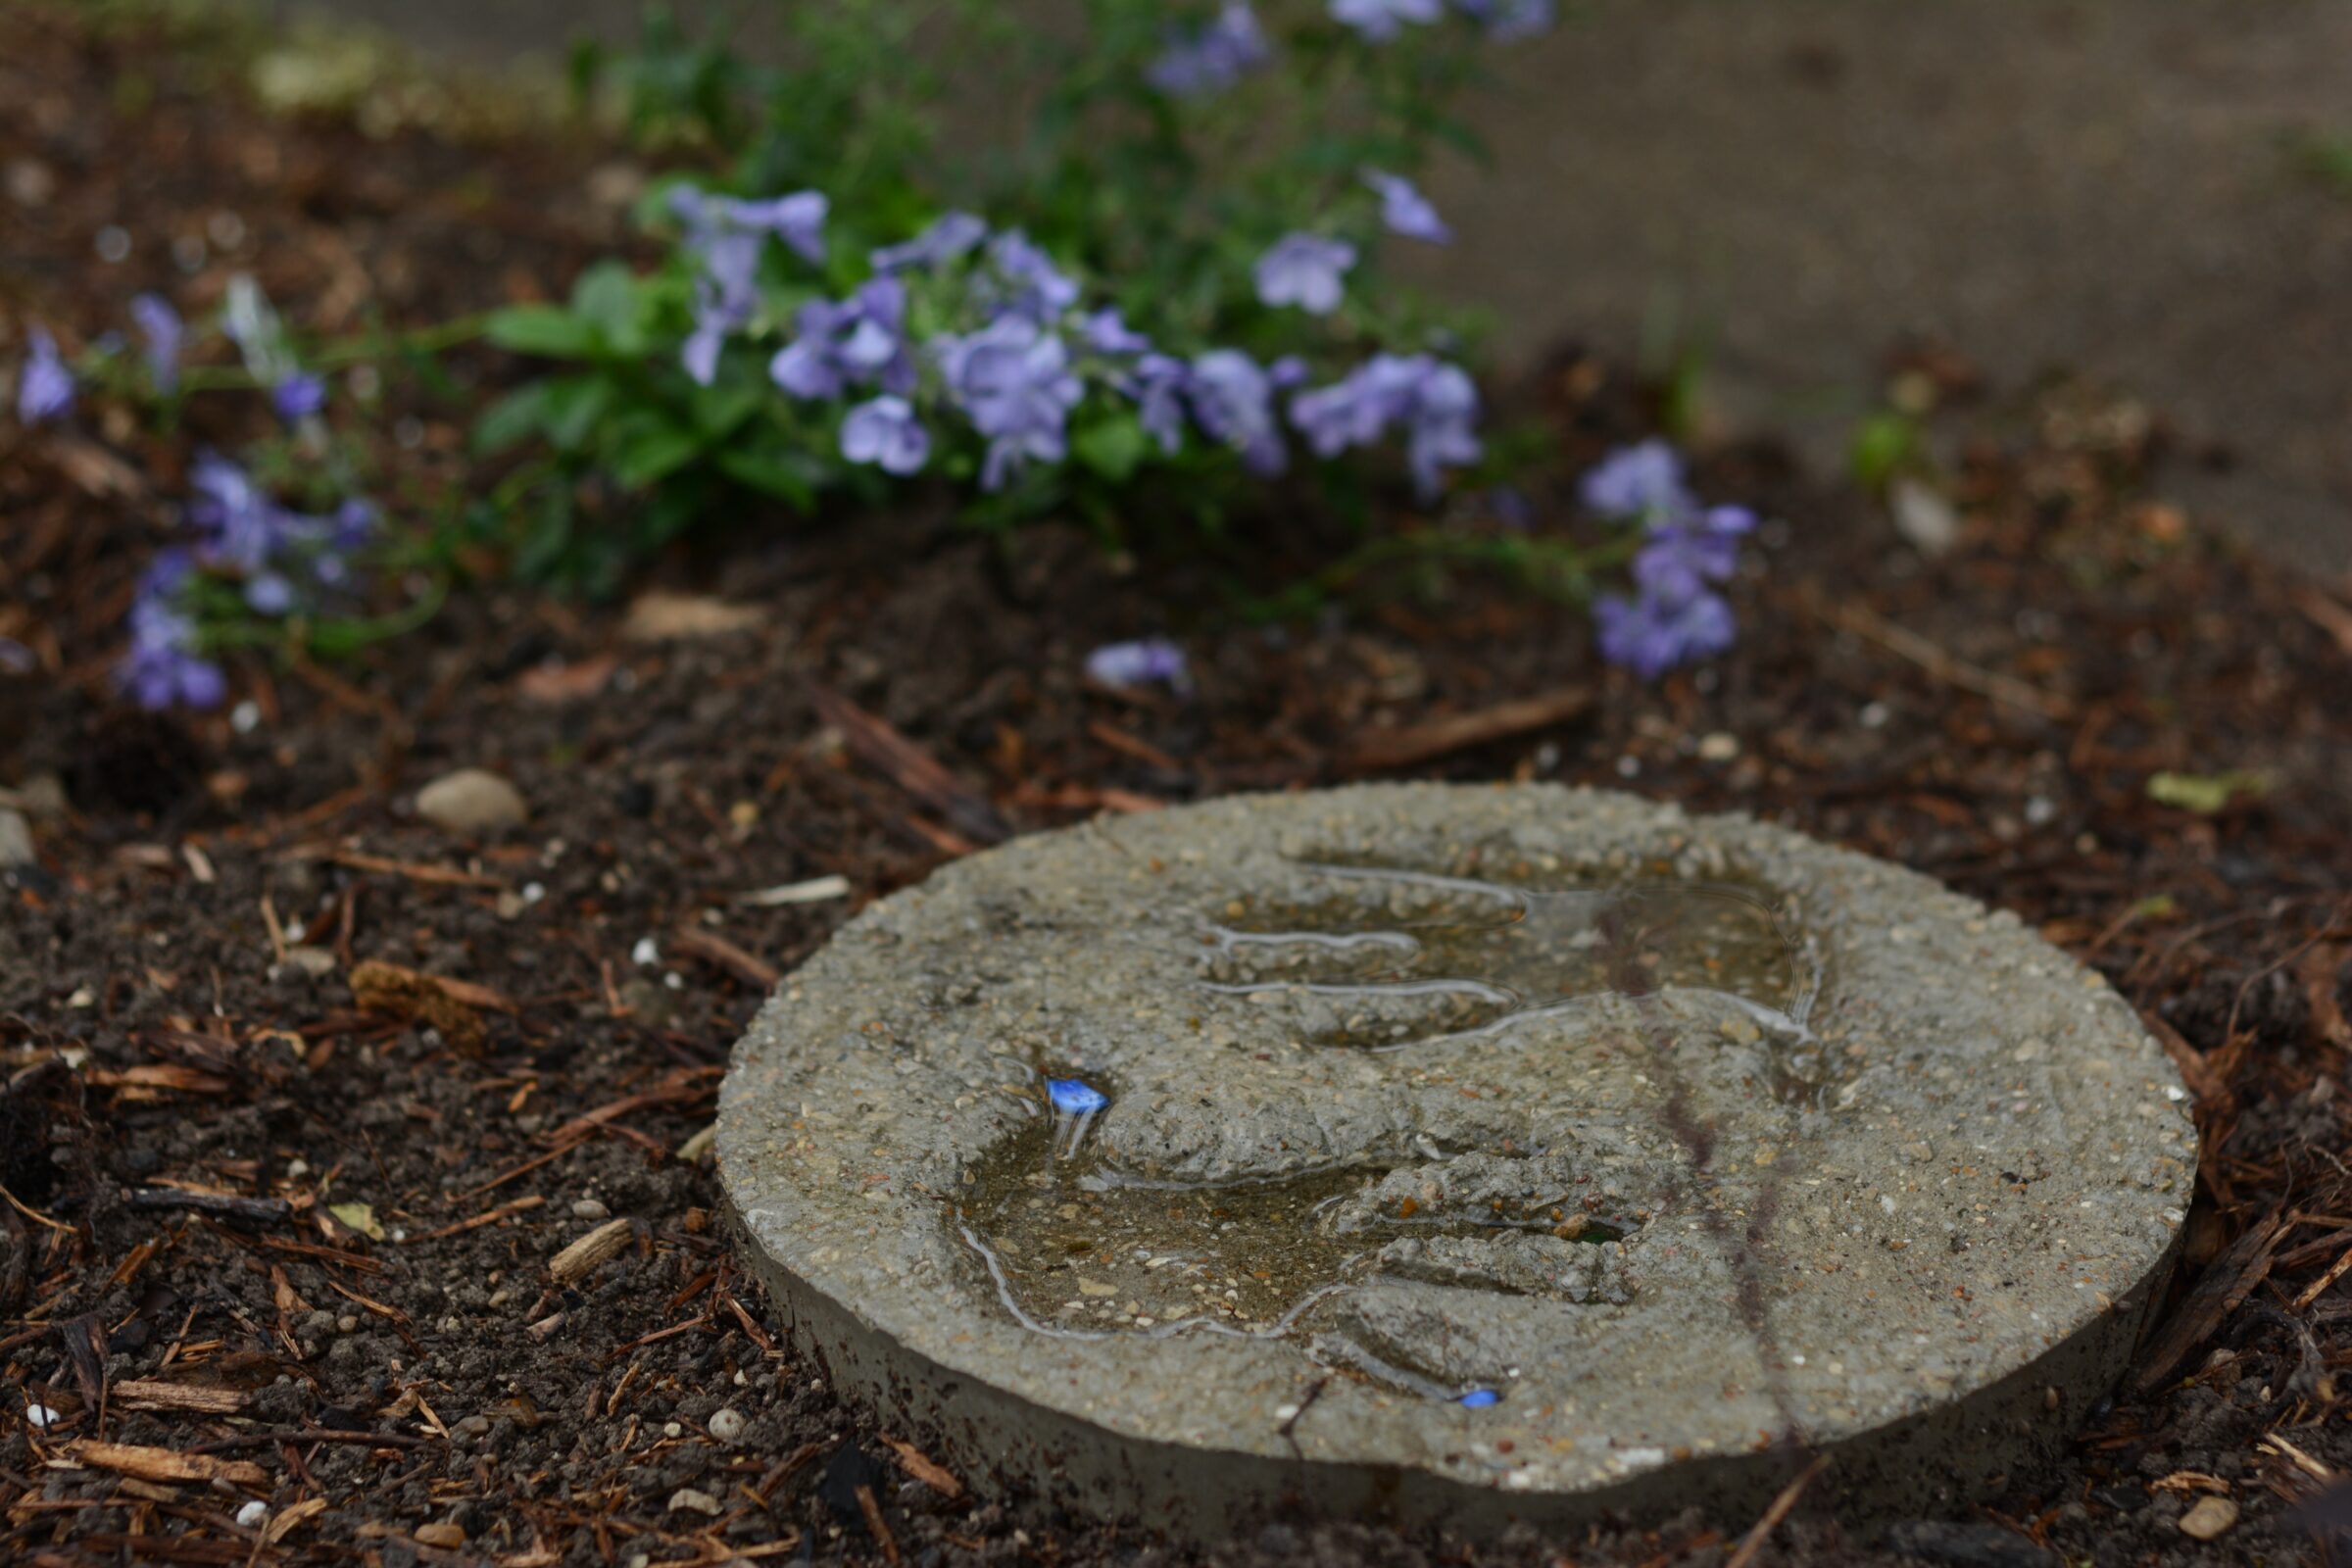
Personalizing Your Steppingstones
Now comes the exciting part – personalizing your steppingstones! Let your family’s creativity shine by pressing items, into the concrete. You can use handprints, footprints, or even create mosaic designs. Remember that pressing deeper will create impressions.
The Waiting Game
You’re going to have to exercise patience during this stage. The steppingstones need time to cure and harden properly which can take anywhere from 24, to 48 hours depending on weather conditions and humidity levels. Avoid removing them from their molds too early. Waiting ensures they become fully set and durable.
Finishing Touches
Fully cured, delicately remove each steppingstone from its mold. You may notice some edges that can be smoothed out with a sandpaper. If you’d like you can also apply a sealer to protect your stones from the elements and enhance their color for an interesting look.
Laying the Steppingstones
The last step involves selecting the location in your garden or yard to lay down your crafted steppingstones. Whether it’s creating a path to your garden encircling a pond or leading to a specific focal point, these stones will bring a personal and artistic touch to your landscape.
Reflecting on the Experience
These steppingstones not only serve as pathways but also represent the collaborative effort and creativity of a family. Each stone tells its story through its design, adding character to your home’s outdoor space. As you step on these steppingstones let them serve as a reminder of the laughter, teamwork and the happiness that comes from spending an enjoyable weekend together.